Getting the Most From Your Receiver: Filters, AGC, and DSP
Most operators use a fraction of the receiver they paid for. These seven controls turn a marginal signal into a readable one without spending anything.
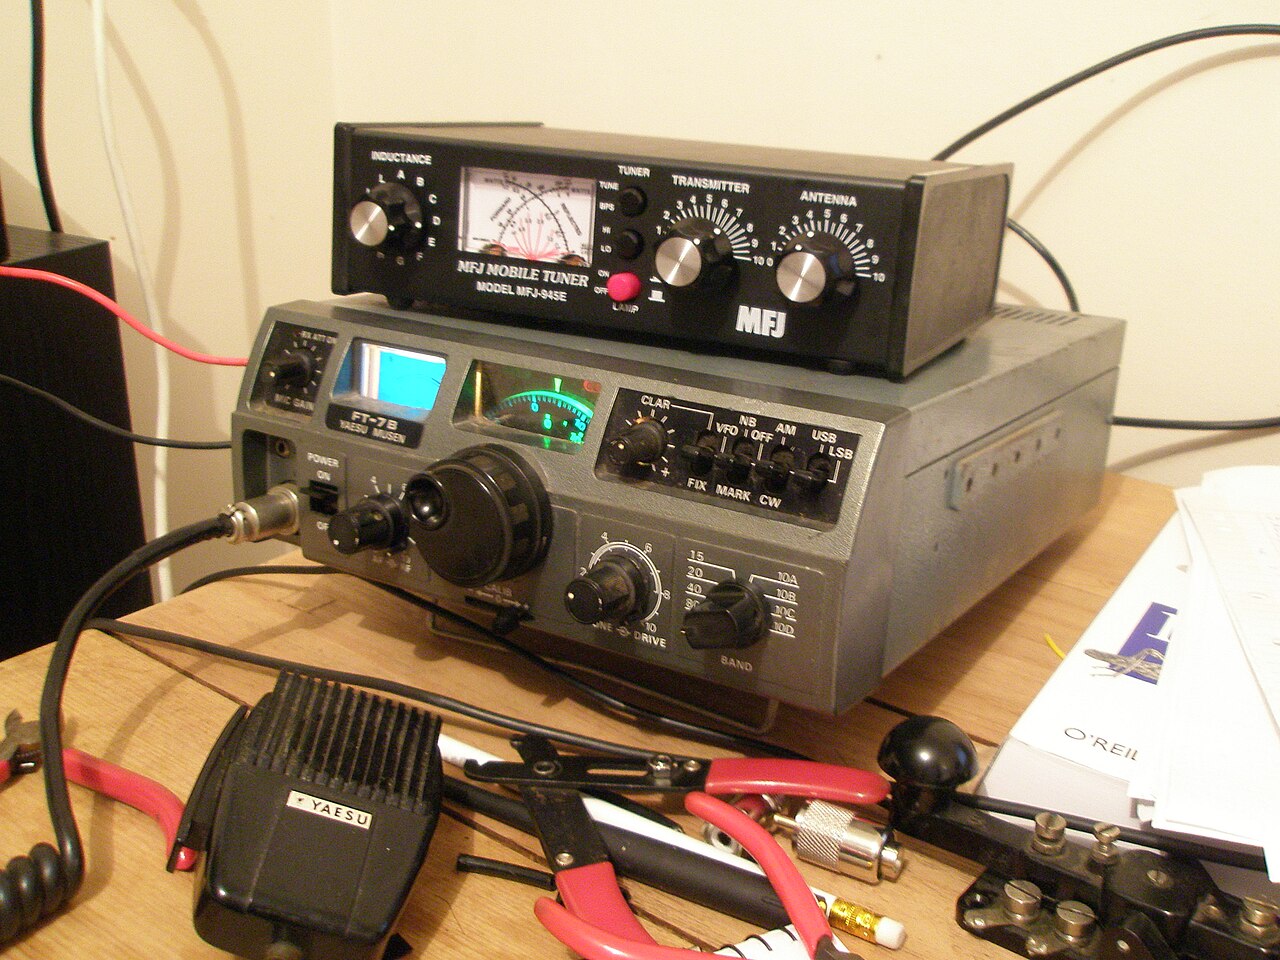
Most operators use a fraction of their receiver
A modern transceiver contains a receiver that would have been laboratory-grade equipment thirty years ago, and the overwhelming majority of operators leave it in whatever configuration it shipped in. They then conclude that the band is too noisy, that the signal is too weak, or that they need a better radio. In a great many cases the signal they gave up on was entirely readable and the difference was five seconds of adjustment.
This is not a criticism of the operators. Receiver controls are buried in menus, poorly named, interact with each other in ways the manual does not explain, and produce effects that are hard to evaluate while you are trying to copy a call sign. The purpose of this article is a working mental model of what each control does and a routine for using them in the right order.
Bandwidth: the single most useful control
The receiver's filter bandwidth determines how much of the spectrum reaches your ears, and because noise power is proportional to bandwidth, narrowing the filter improves signal-to-noise ratio directly. This is the highest-value control on the radio and the one most often left at default.
For SSB, the default is usually 2.4 to 2.8 kilohertz, which is right for a clean, strong signal. On a weak or crowded band, narrowing to 1.8 kilohertz removes a substantial amount of noise and adjacent-signal splatter while leaving speech entirely intelligible, because most of the information in a voice is below 2 kilohertz. For CW, the default is often 500 hertz, and narrowing to 250 or even 100 hertz on a quiet frequency can lift a signal out of the noise dramatically. For digital modes, follow the software's recommendation, which is usually wide, because the decoder wants to see the whole slice.
The cost of a narrow filter is ringing and fatigue: very narrow CW filters make the audio sound hollow and can make it harder to tell two close signals apart. Narrow until the signal improves, then stop.
Passband tuning and shifting the window
Most radios offer some form of passband shift or independent adjustment of the filter's high and low edges. This is the tool for the situation where an interfering signal sits just outside your desired signal and the noise level itself is not the problem. Rather than narrowing symmetrically, move the window away from the interference: pull the high edge down to remove a whistle above, or lift the low edge to remove rumble and a strong signal below.
The technique that experienced operators use constantly is to shift the passband while listening to the interference rather than the wanted signal. Watch for the moment the interference disappears, then check whether the wanted signal is still fully inside the window. On a crowded band this recovers contacts that no amount of gain would.
AGC, and why fast is not always better
Automatic gain control keeps the audio level roughly constant as signals fade and surge. Its important parameter is the release time, usually offered as fast, medium, and slow, and the correct setting depends entirely on what you are listening to.
Slow AGC is right for SSB conversation, because it holds a steady level through the natural gaps in speech and does not pump. Fast AGC is right for CW and for hunting weak signals, because it recovers quickly between elements and lets you hear a faint signal in the gaps. The failure mode people encounter without recognizing it is a strong nearby signal capturing the AGC and suppressing gain across the whole passband, so that a weak signal you were copying disappears whenever the loud station transmits. When that happens, narrow the filter first so the strong signal is outside it, and only then adjust AGC.
Noise blanker versus noise reduction
These two controls are frequently confused and do entirely different jobs. A noise blanker targets impulse noise, meaning short sharp bursts such as ignition noise or certain electric fences, by muting the receiver for the duration of each pulse. It is extremely effective against exactly that kind of noise and useless against anything else. Worse, an aggressively set noise blanker can distort strong signals badly and generate spurious responses, so it should be off unless it is solving a specific pulsing problem.
Digital noise reduction attacks broadband hiss by processing the audio to emphasize signal-like structure. Used lightly it is genuinely valuable and reduces listening fatigue over a long session. Used heavily it produces a hollow, watery, artifact-laden sound and can erase weak signals entirely along with the noise. The practical rule is to increase noise reduction until the noise drops noticeably and back off one step from there, and to turn it off entirely when you are trying to detect the presence of something very weak.
Notch filters, manual and automatic
A notch filter removes a narrow slice of the passband, which is precisely what is needed against a steady carrier or heterodyne whistle. Manual notch lets you tune the notch onto the offending tone by ear and is the tool for a single persistent carrier. Automatic notch detects tones and removes them continuously, which is excellent against multiple or drifting carriers and occasionally harmful because it can attack the tonal content of a CW signal you are trying to copy.
Use manual notch on CW, automatic notch on SSB, and remember that a notch removes a narrow band rather than a specific station. Two interfering carriers half a kilohertz apart need either two notches or a passband shift.
Preamp and attenuator: the gain decision
The preamp adds front-end gain and, unavoidably, some intermodulation vulnerability. The attenuator removes gain to protect the front end from overload. The correct choice depends on band and location, and the rule is simpler than it appears: on the low bands, where atmospheric noise dominates, the preamp adds nothing useful and often makes intermodulation worse, so leave it off and consider the attenuator if strong signals are causing trouble. On 10 meters, 6 meters, and above, where receiver noise begins to matter more than atmospheric noise, the preamp is genuinely useful.
The diagnostic for overload is worth knowing. If switching in ten decibels of attenuation reduces the noise by ten decibels but the wanted signal remains equally readable, your receiver was being overloaded and the attenuator is helping. If the signal degrades along with the noise, you were not overloaded and the attenuator is simply costing you sensitivity.
A setup routine for each band
Do this in order every time you change bands and it becomes automatic within a week. Set the mode and the sideband convention. Choose a starting bandwidth appropriate to the mode. Turn off noise reduction, the noise blanker, and the preamp. Set AGC for the mode, slow for voice and fast for CW. Then listen for thirty seconds and only add processing to solve a problem you can actually hear.
That last sentence is the whole discipline. Every control on this list costs something, and the operators who get the most out of their receivers are the ones who add each function deliberately in response to a specific defect rather than leaving everything switched on permanently. Once the routine is habit, you will be pulling contacts out of conditions that used to look hopeless, using the radio you already own.
Every HAMSTATION tool runs entirely client-side. No accounts, no tracking, no server storage.
Open the toolkit →